

To have better control and management of our code deployments is highly recommended to upload a project to Github using the command line, in other words, have our code uploaded to a Cloud Repository like Github since is the most used cloud repository used out there, but we can also use other options like Bitbucket or an already implemented solution like Azure DevOps that integrates It’s own cloud repository but also has a connection with Github If is needed.
Github is a version control system, this helps us to manage modifications and keep them in a central repository, where a group of developers (contributors) can upload their changes, revert changes, and have to keep each version stored in branches to avoid code conflicts and assure the code integrity and stability.
It’s important to mention that our code repository is going to be stored in “Branches“, “Master Branch” is our main branch where the last stable and verified version of our code has to reside. The rest branches that we create along the way are where the changes like new functionalities, updates are going to be made for later merge them with the Master branch.
In this post, I’m going to teach you how to upload for the first time a workspace project to Github using the command line.
For later management I recommend you to install Github desktop at https://desktop.github.com
Let’s upload our React-Native mobile app called “Calculator“.
Create Repository
First, we need to create a new Repository, for this go to your main page in Github, and click “New“.

Insert the name of your Repository and choose whether is going to be “Private” or “Public“, for credential management is easier to have as public, if you want it to keep it as “Private” keep in mind that you will need to create an SSH Key to been able to log in with other apps like Jenkins.
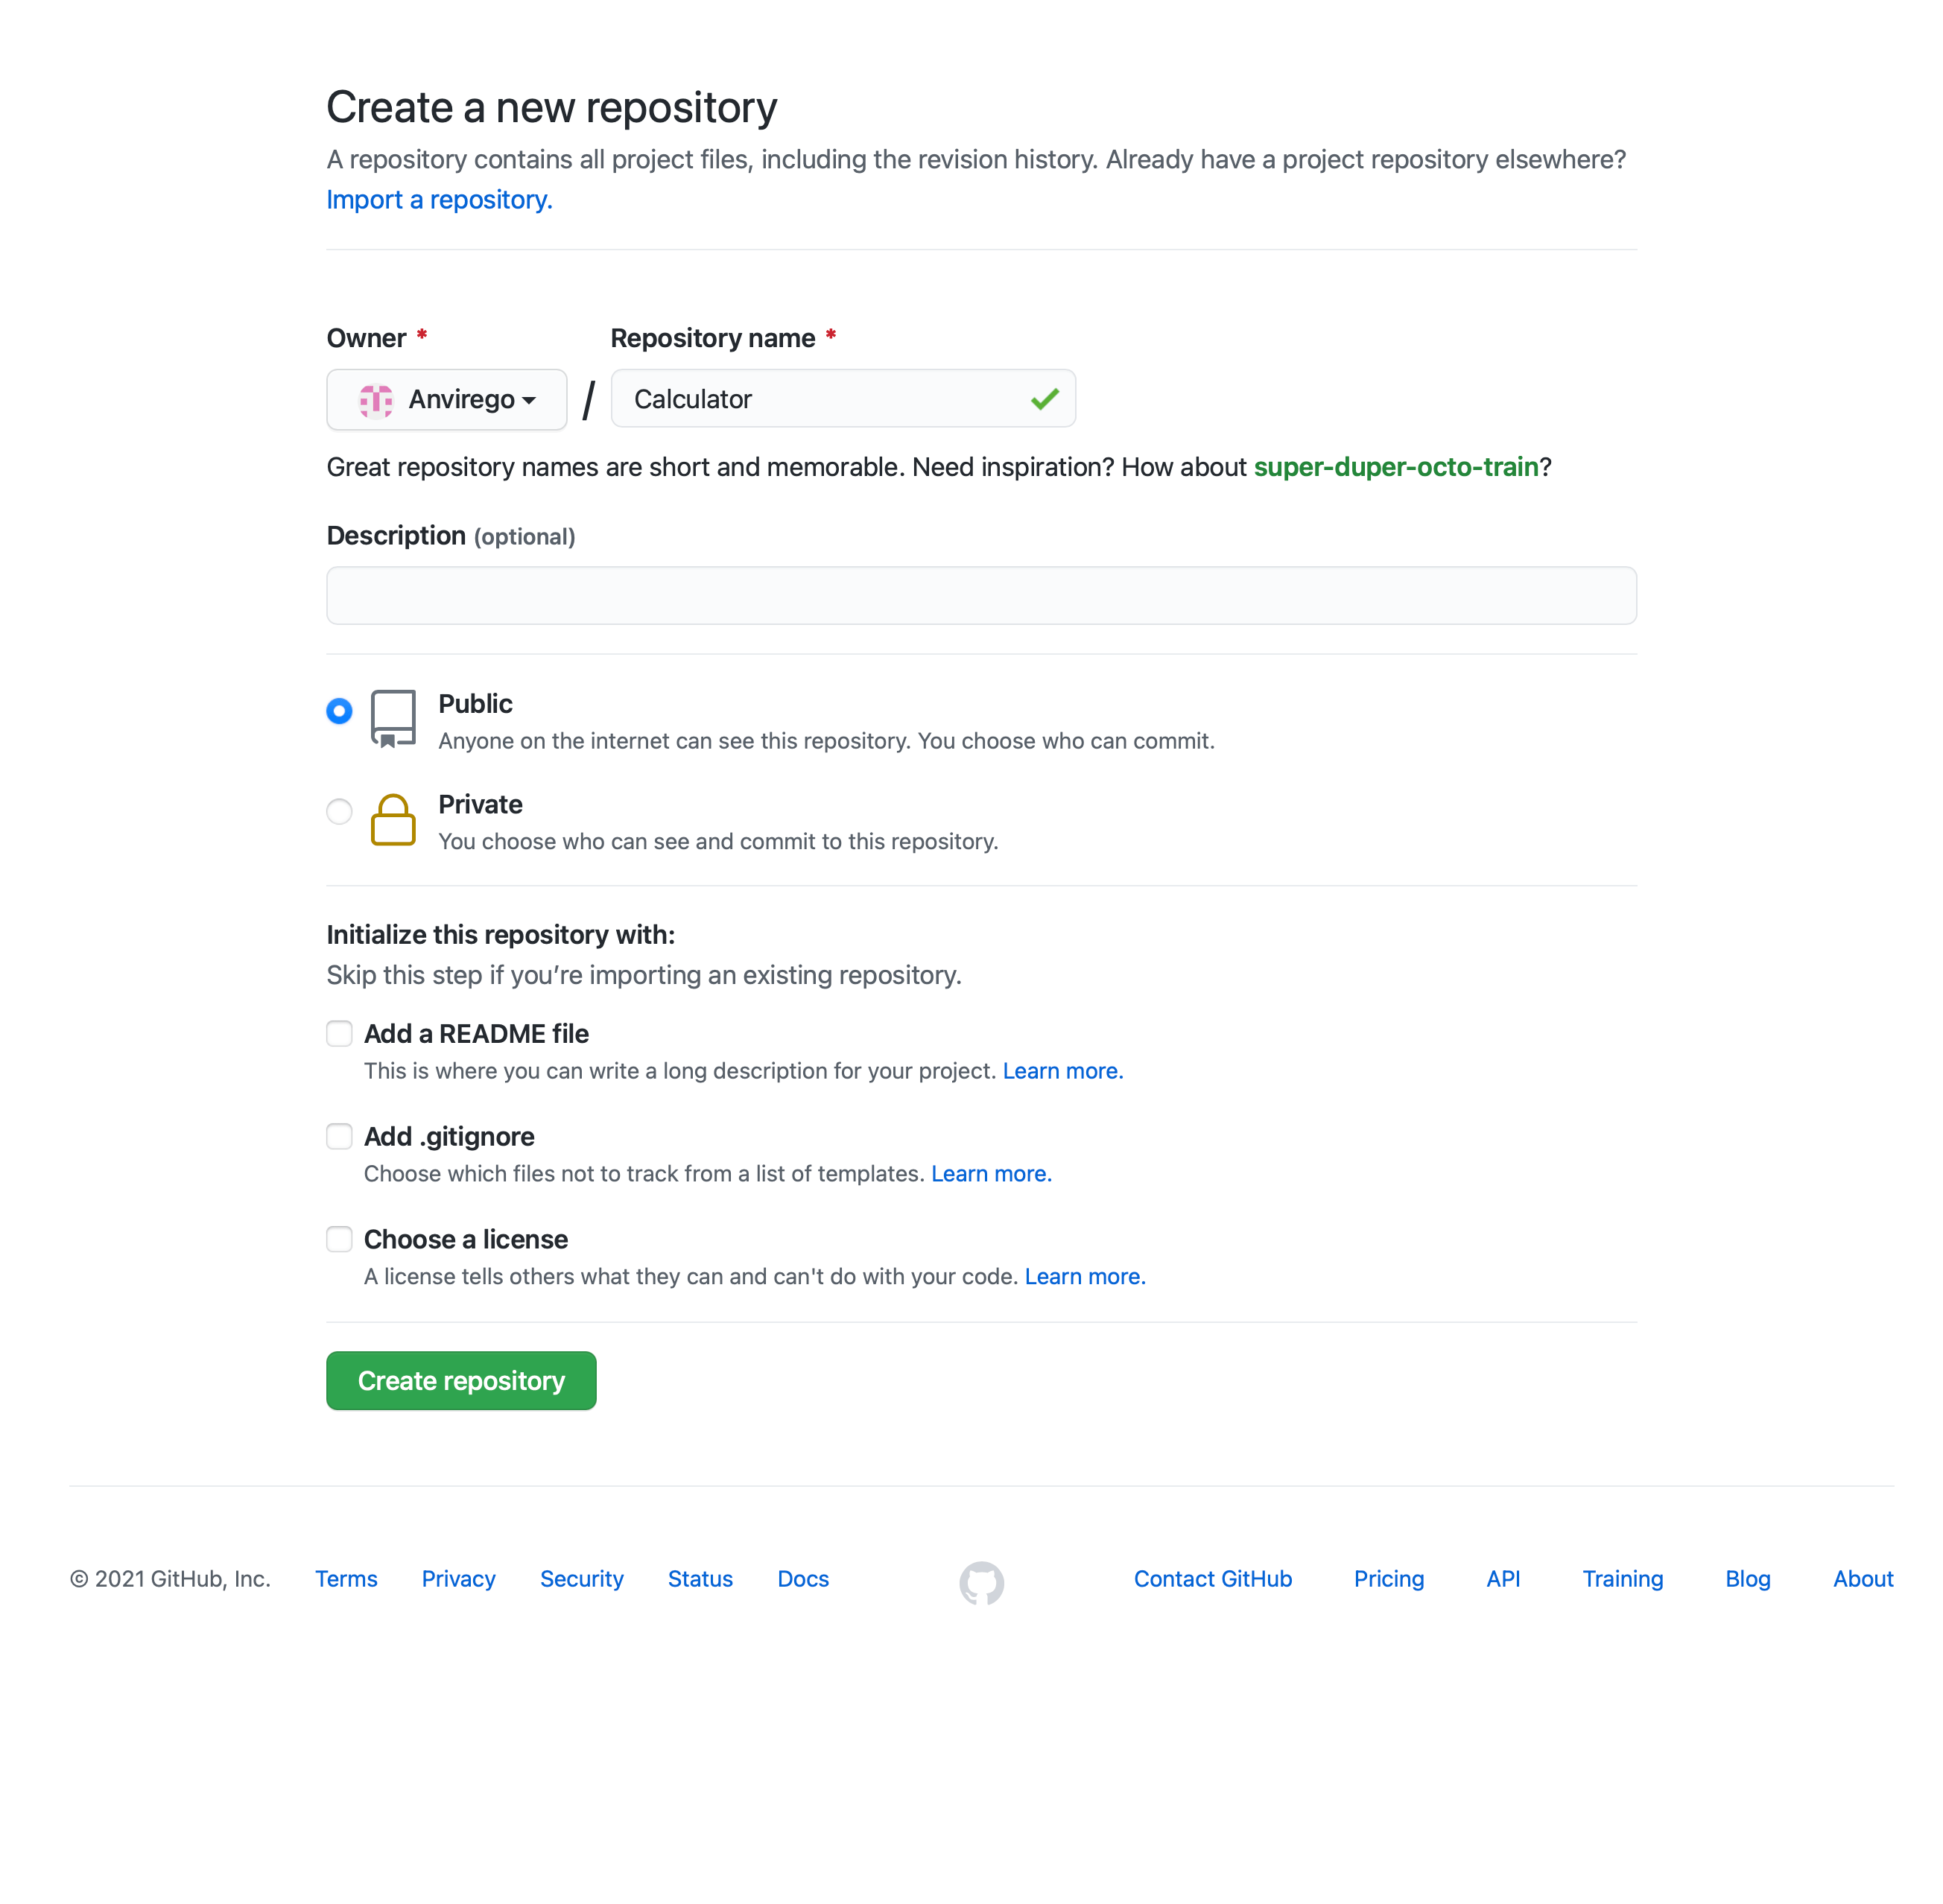
Once the repository is created go to this repo and save the URL of this repo, we’re going to need it later.
Command Line
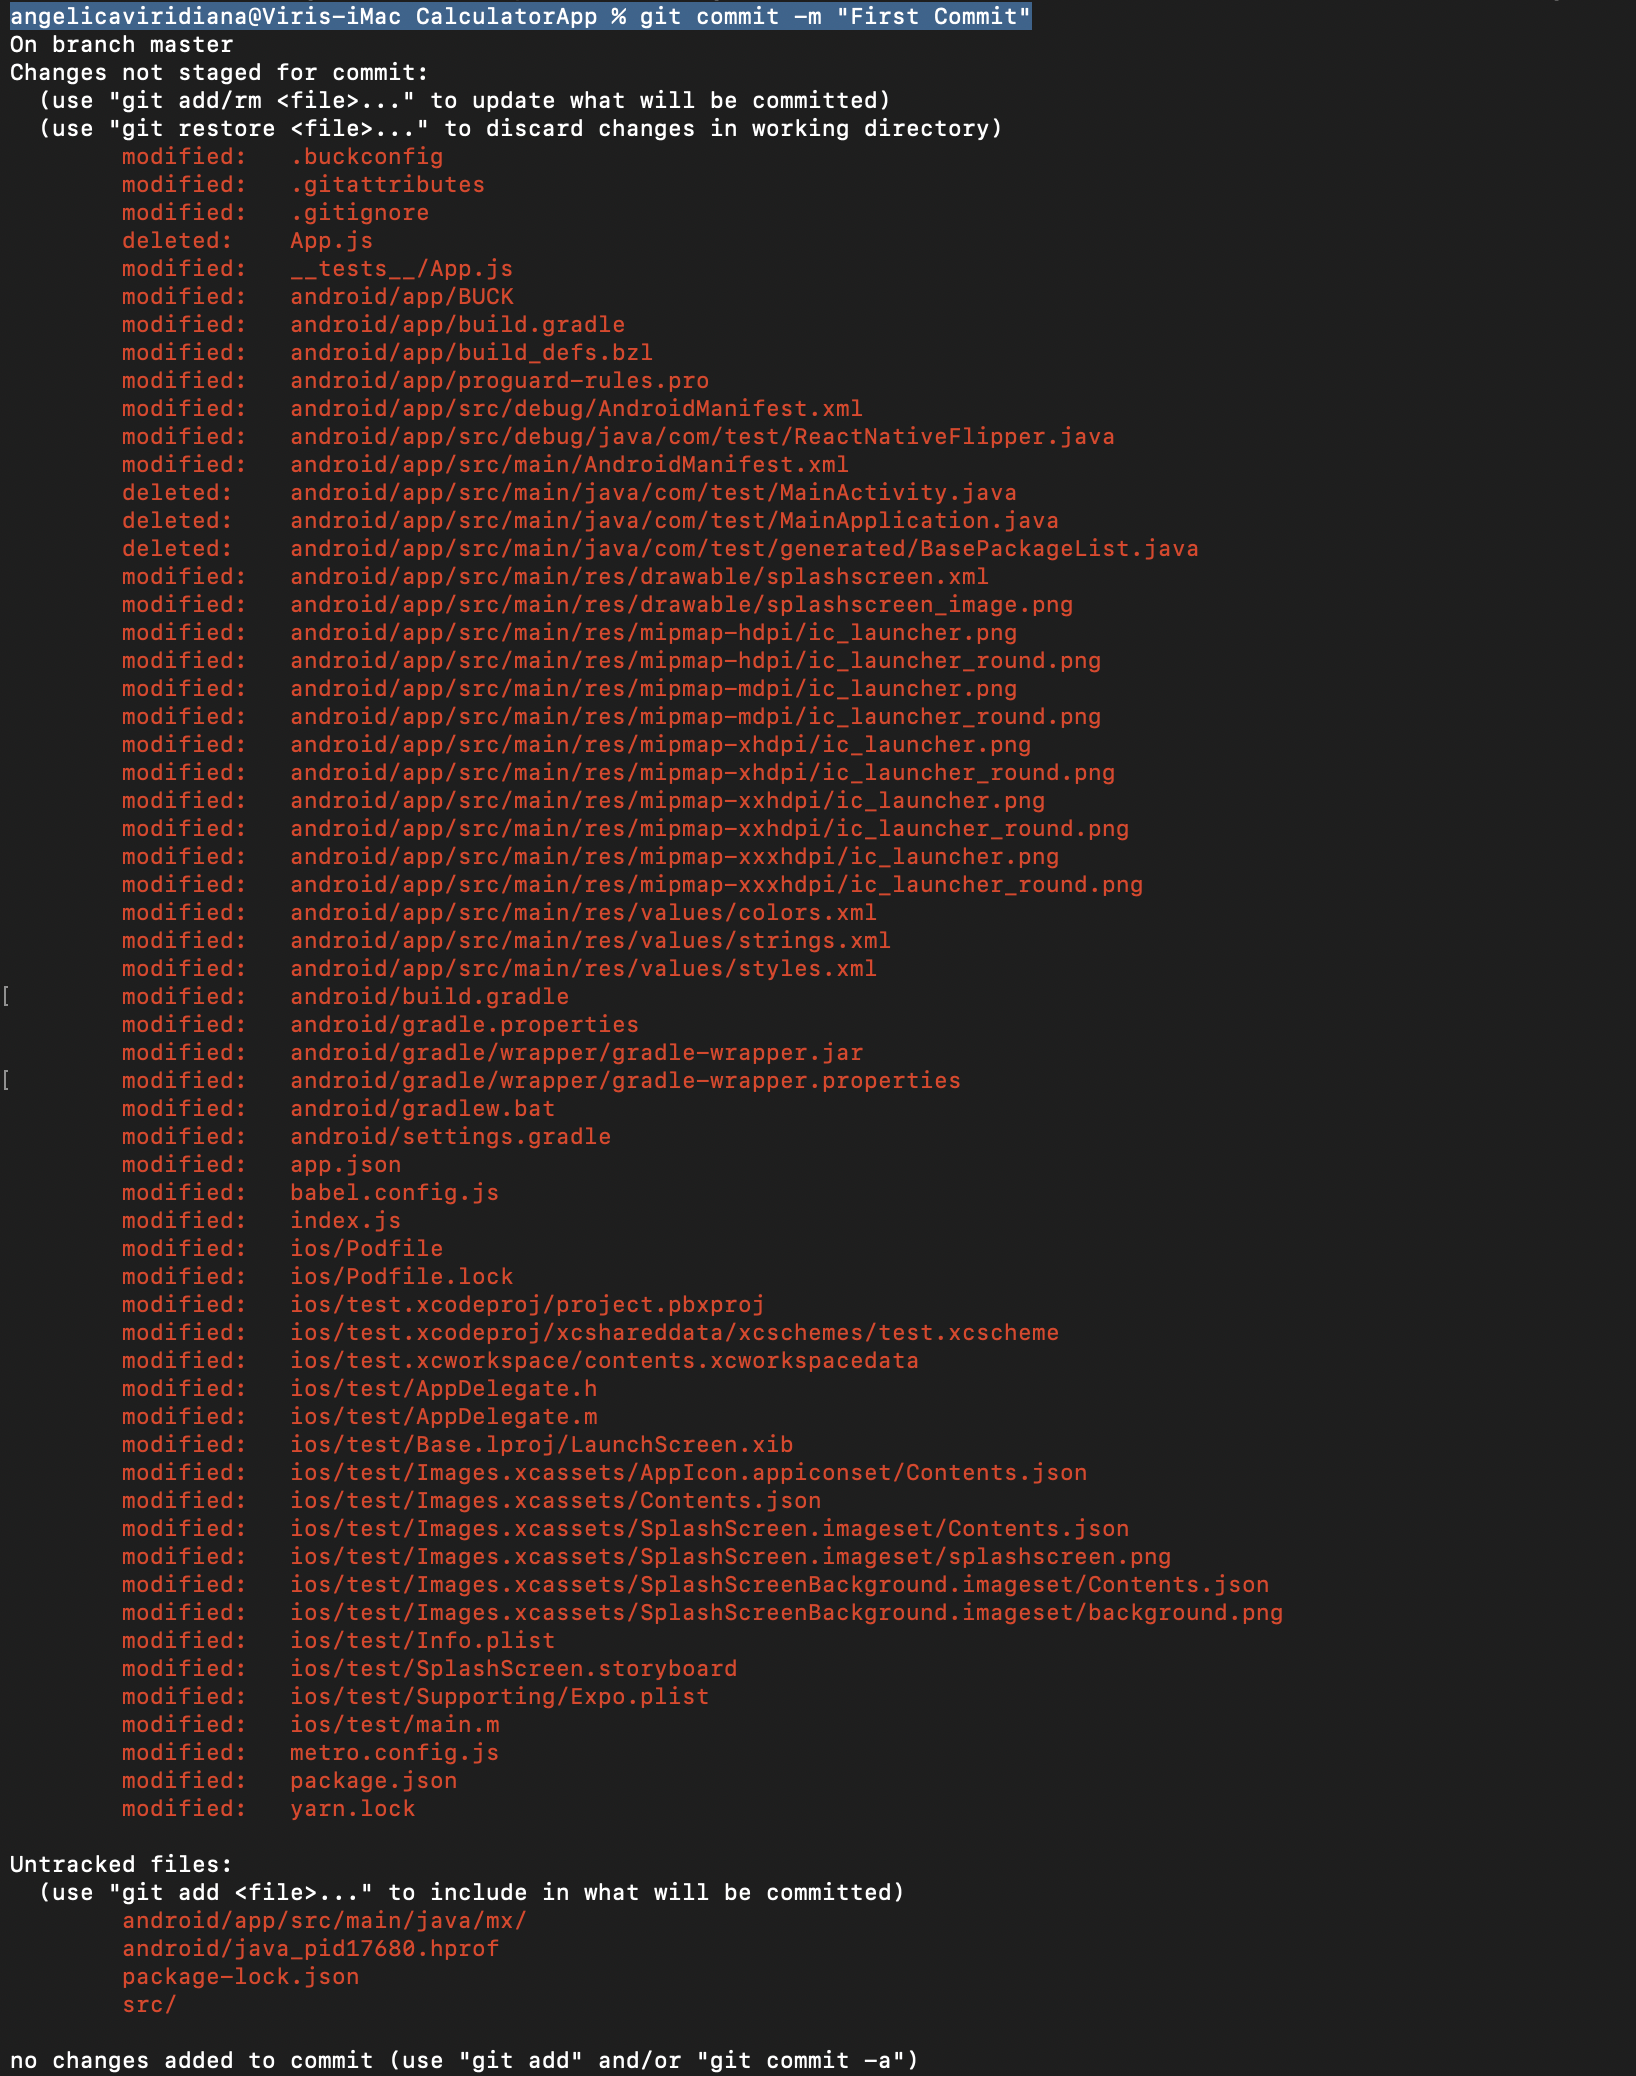
Open cmd and position on the workspace path, like “/Users/angelicaviridiana/eclipse-workspace/Calculator/CalculatorApp“.
Type “git init“.

Then “git commit -m “First Commit”“, the text inside “” (First Commit) is the comment of the commit.
You’re going to see all the data inside your project.
Next “git remote add origin https://github.com/USER/REPOSITORY_NAME.git”, this URL is found in Github, when creating a new repo.

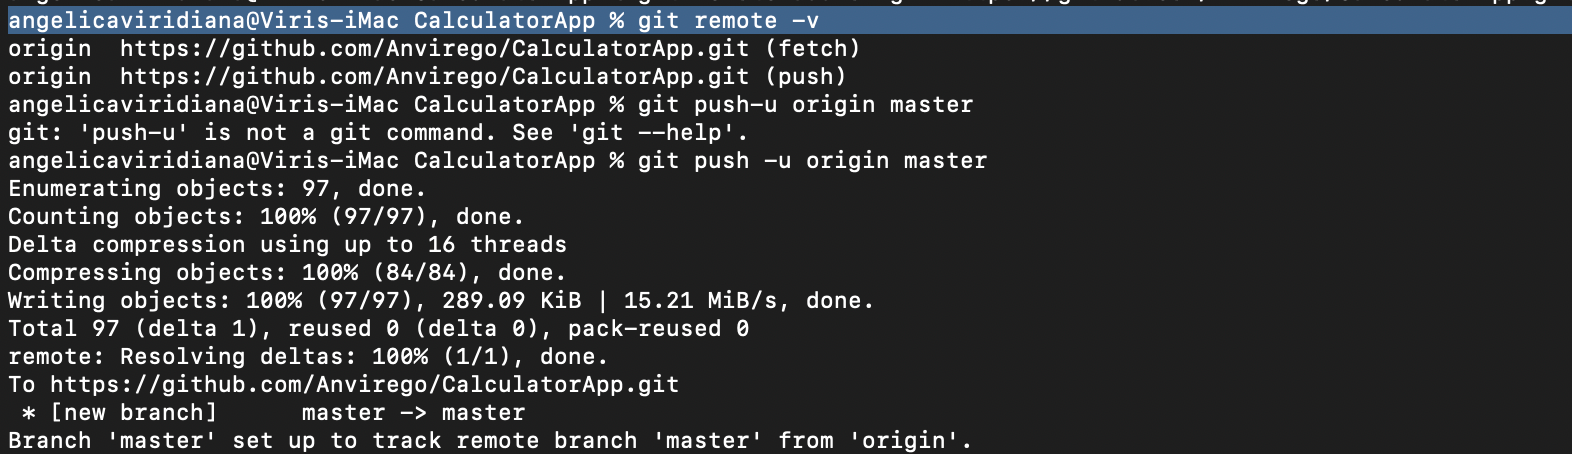
Finally, type “git remote -v“, it’s going to show us to which destination is pointing and the name of this remote repository, in here it’s “origin”.
Finally, if there are no conflicts with our local and remote repository, we can proceed to upload our project using “git push -u origin master“, if everything goes correctly we’re going to see “Writing objects: 100% (84/84), done“.
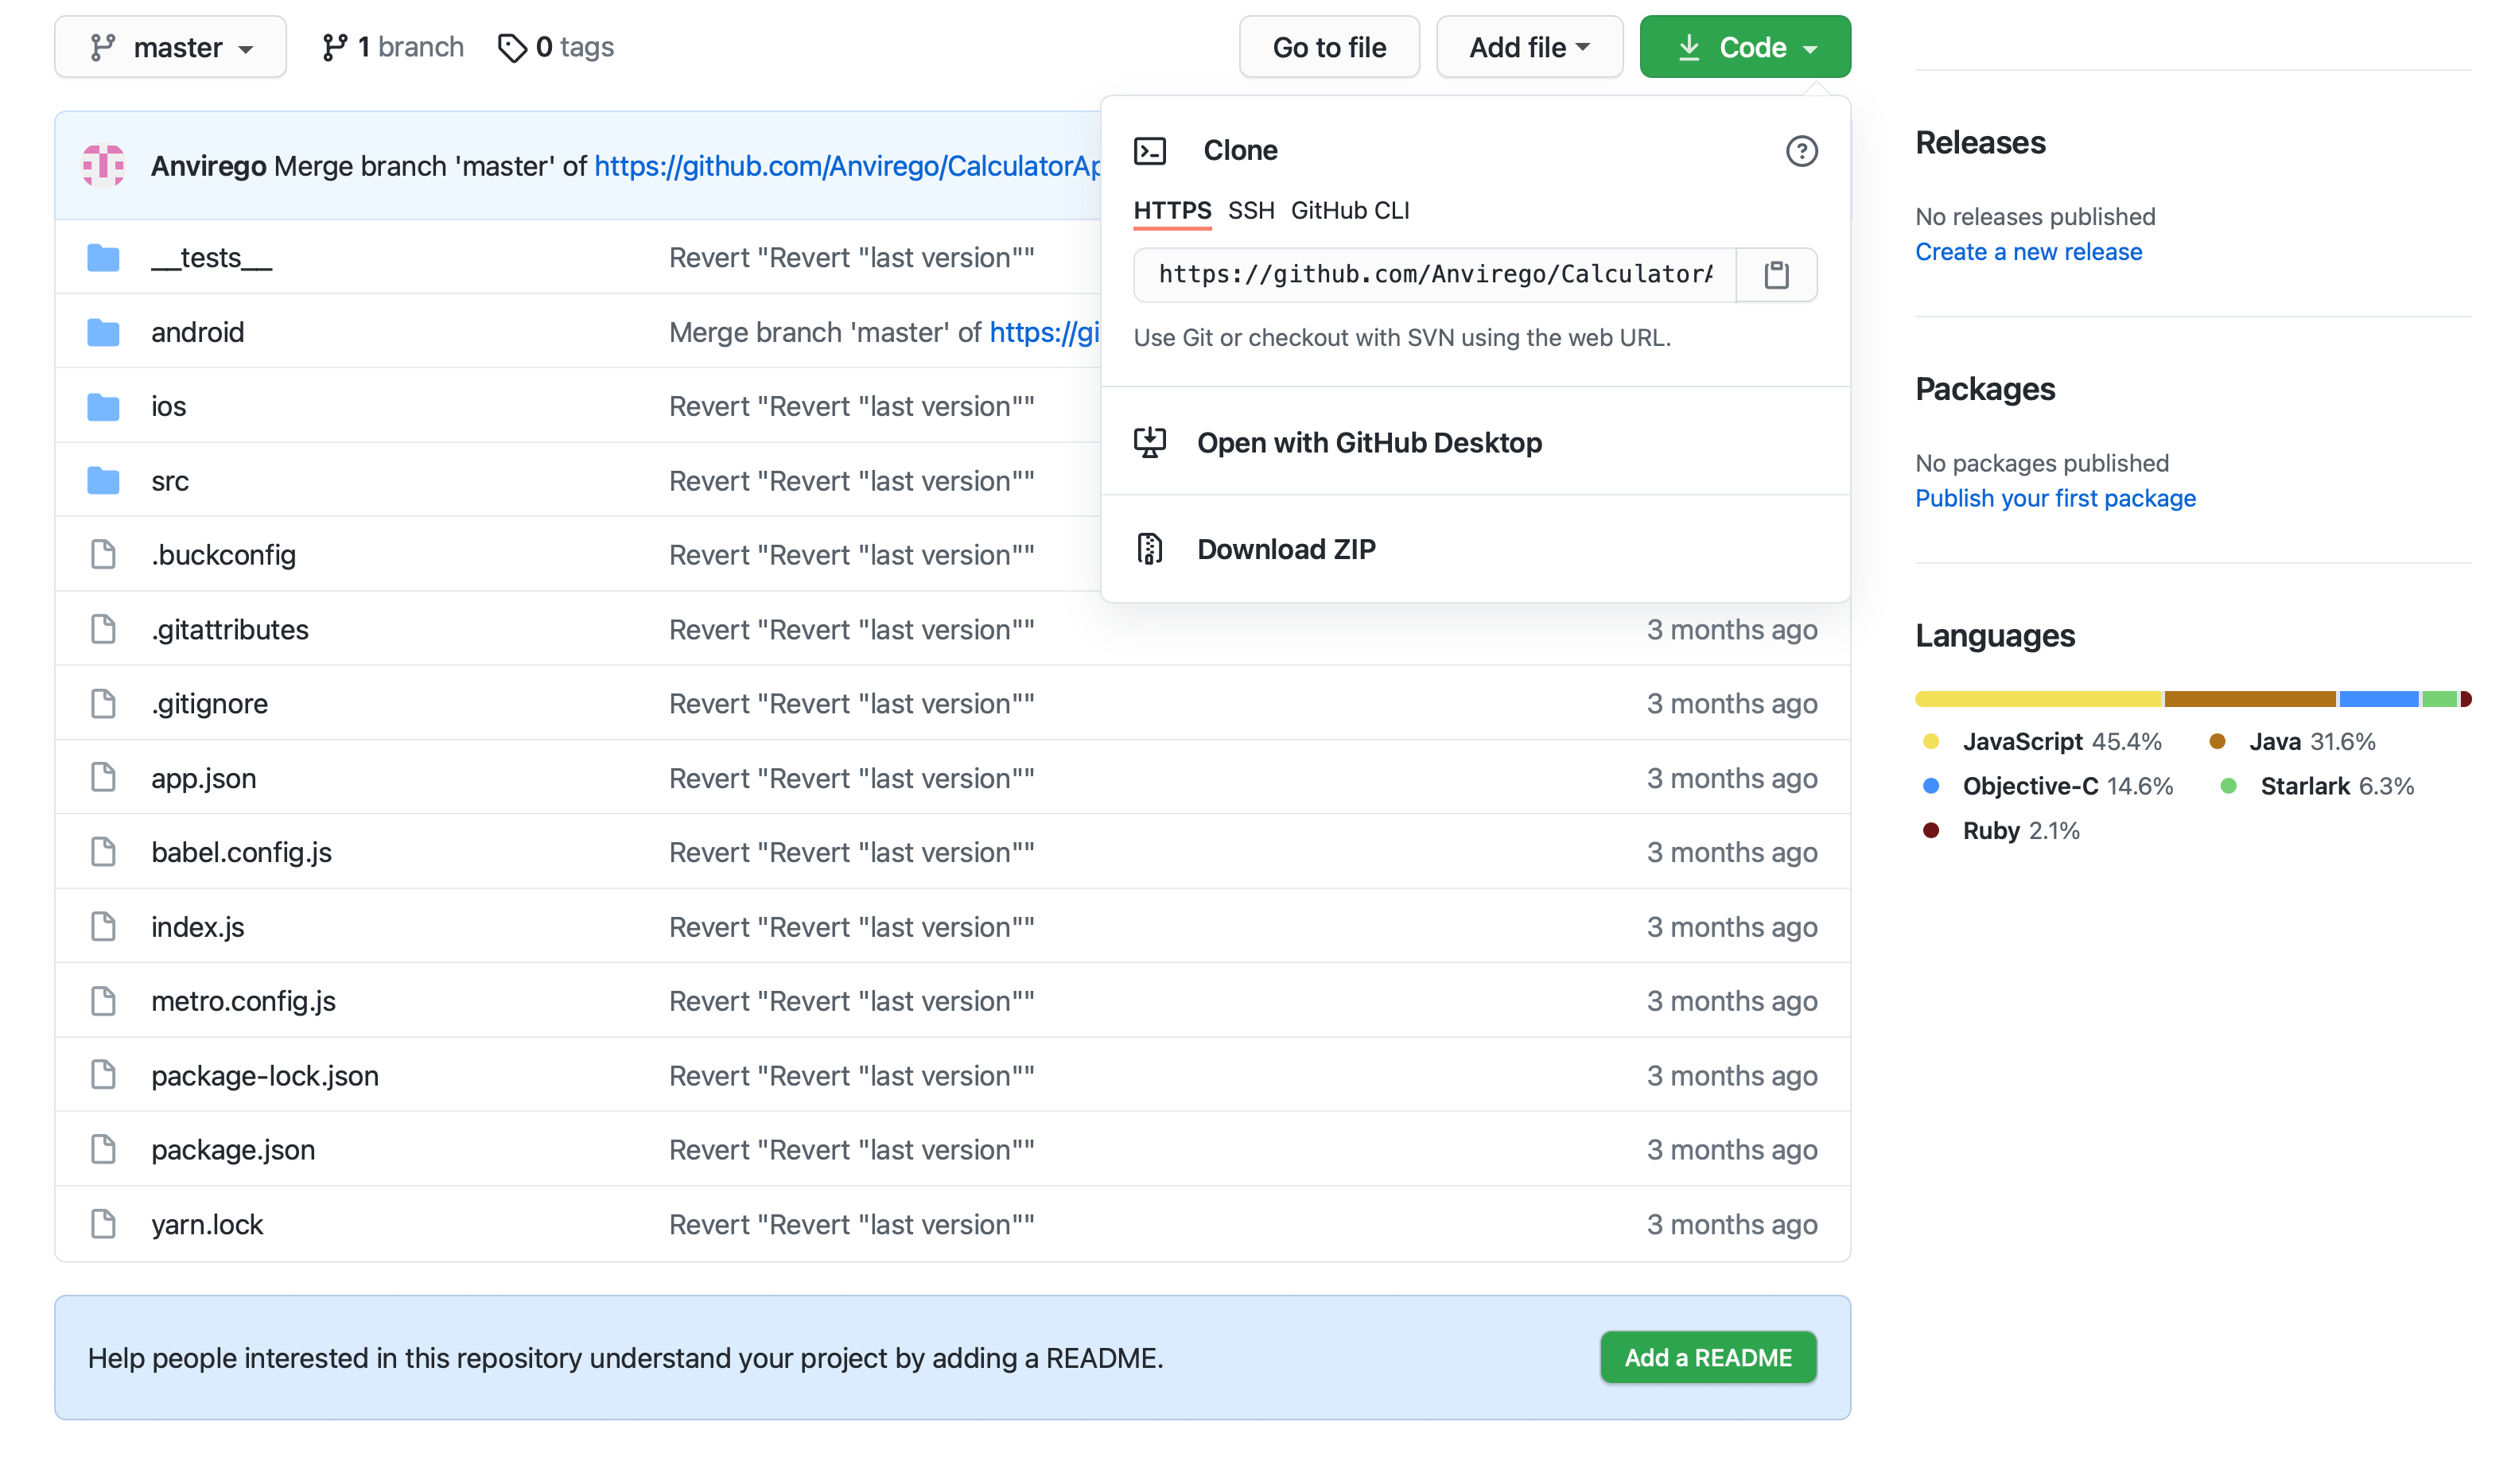
Corroborate the project has been uploaded, go to your Github Repository.
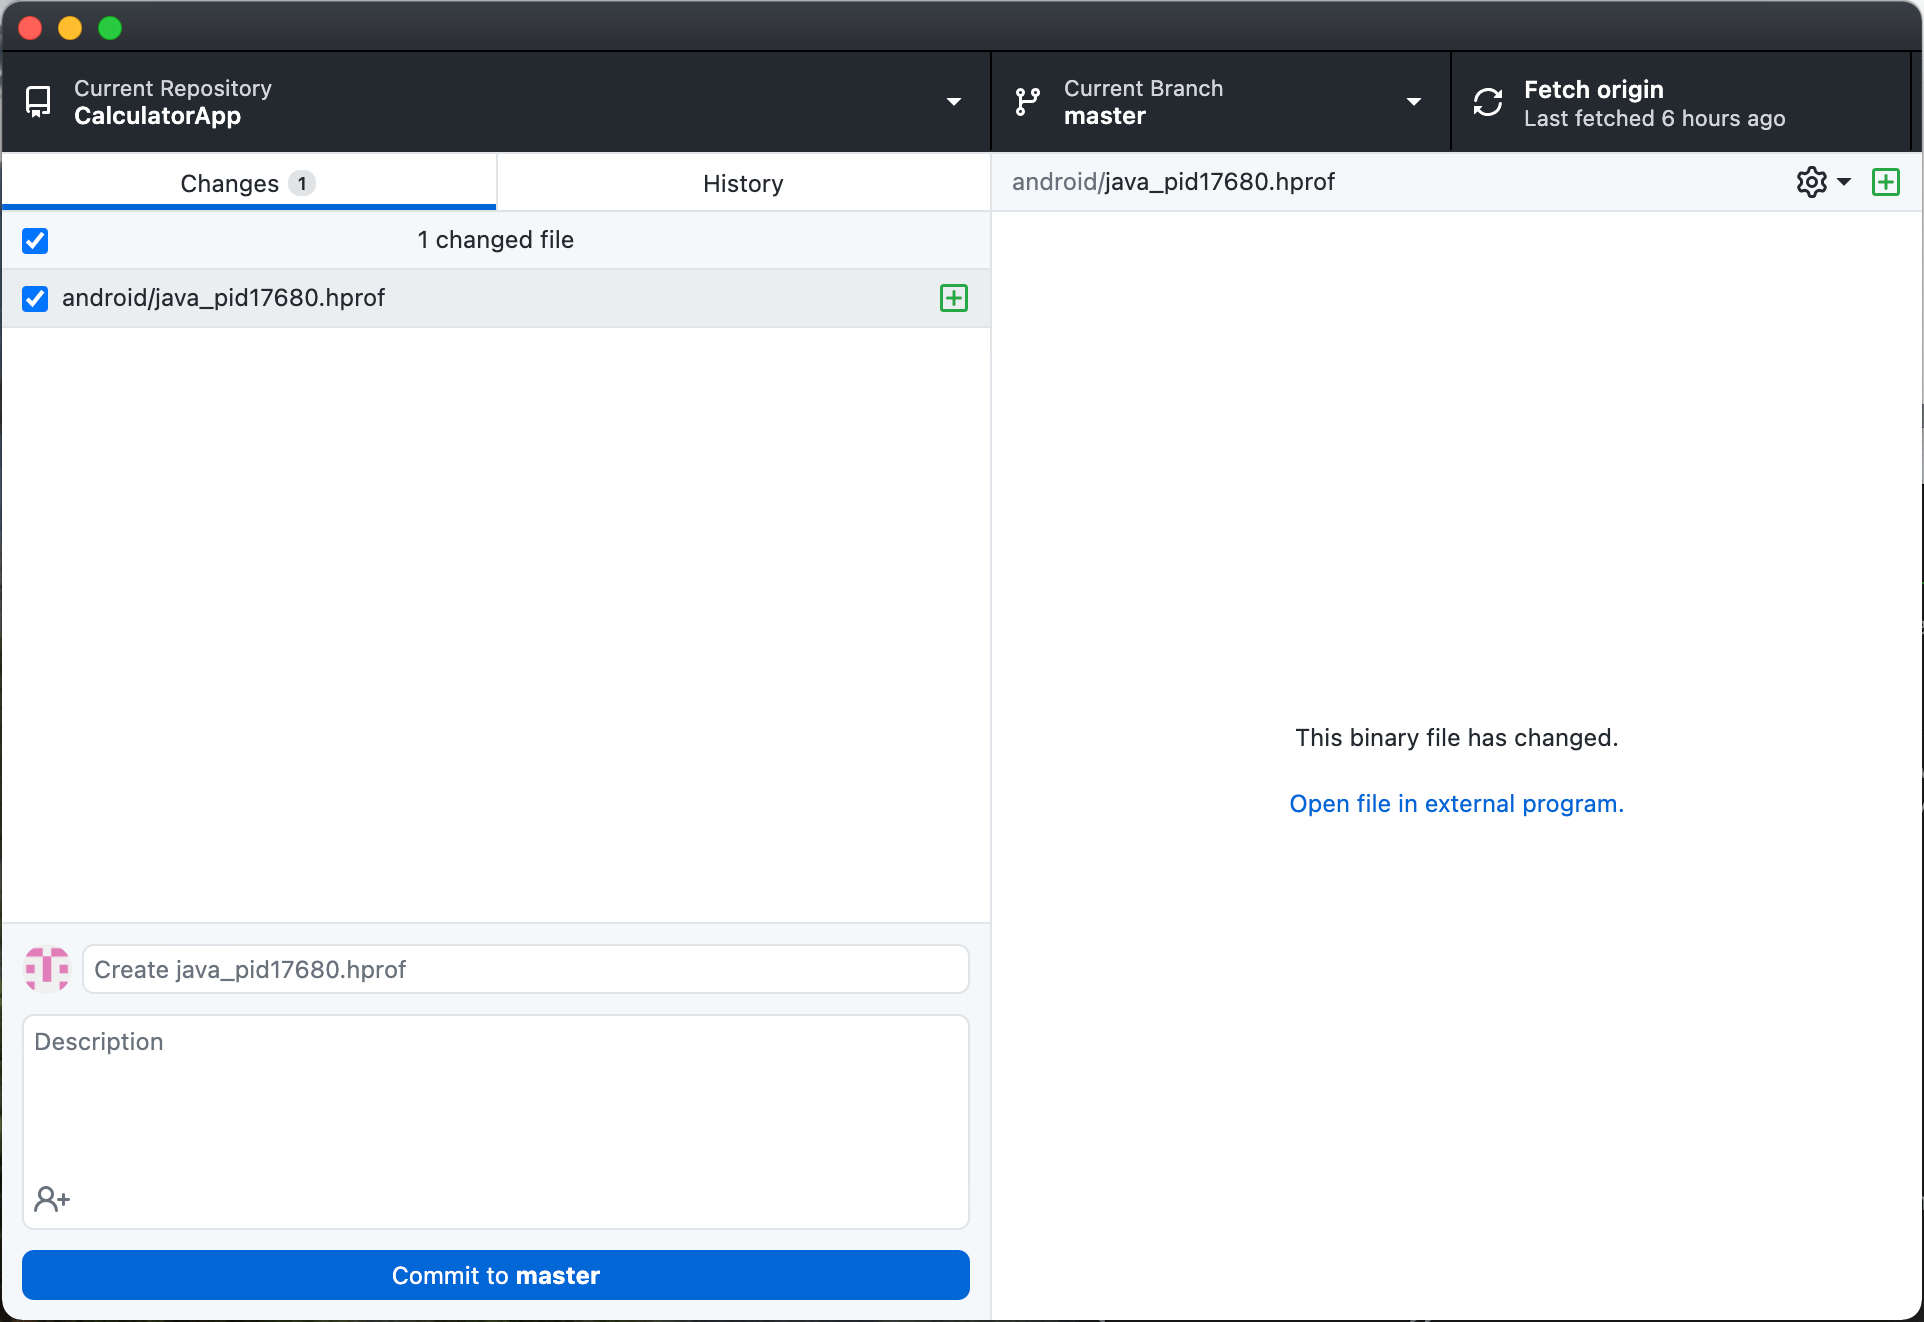
To have easier management with Github, we can use the Github App.
- Current Repository: Name of the Repository we’re managing.
- Current Branch: Branch of the Repository, remember to always create another branch when making changes in the code to later merge it with master. Master branch always has to be the stable version.
- Fetch Origin: Before make changes in our branch we need the last version updated in Github.
- Changes: Displays all the files that have been changed.
- History: History of all the commits made to that repository, we can rollback commits.
- Commit to master: Updates changes with a commit to upload it to Github.
Branches
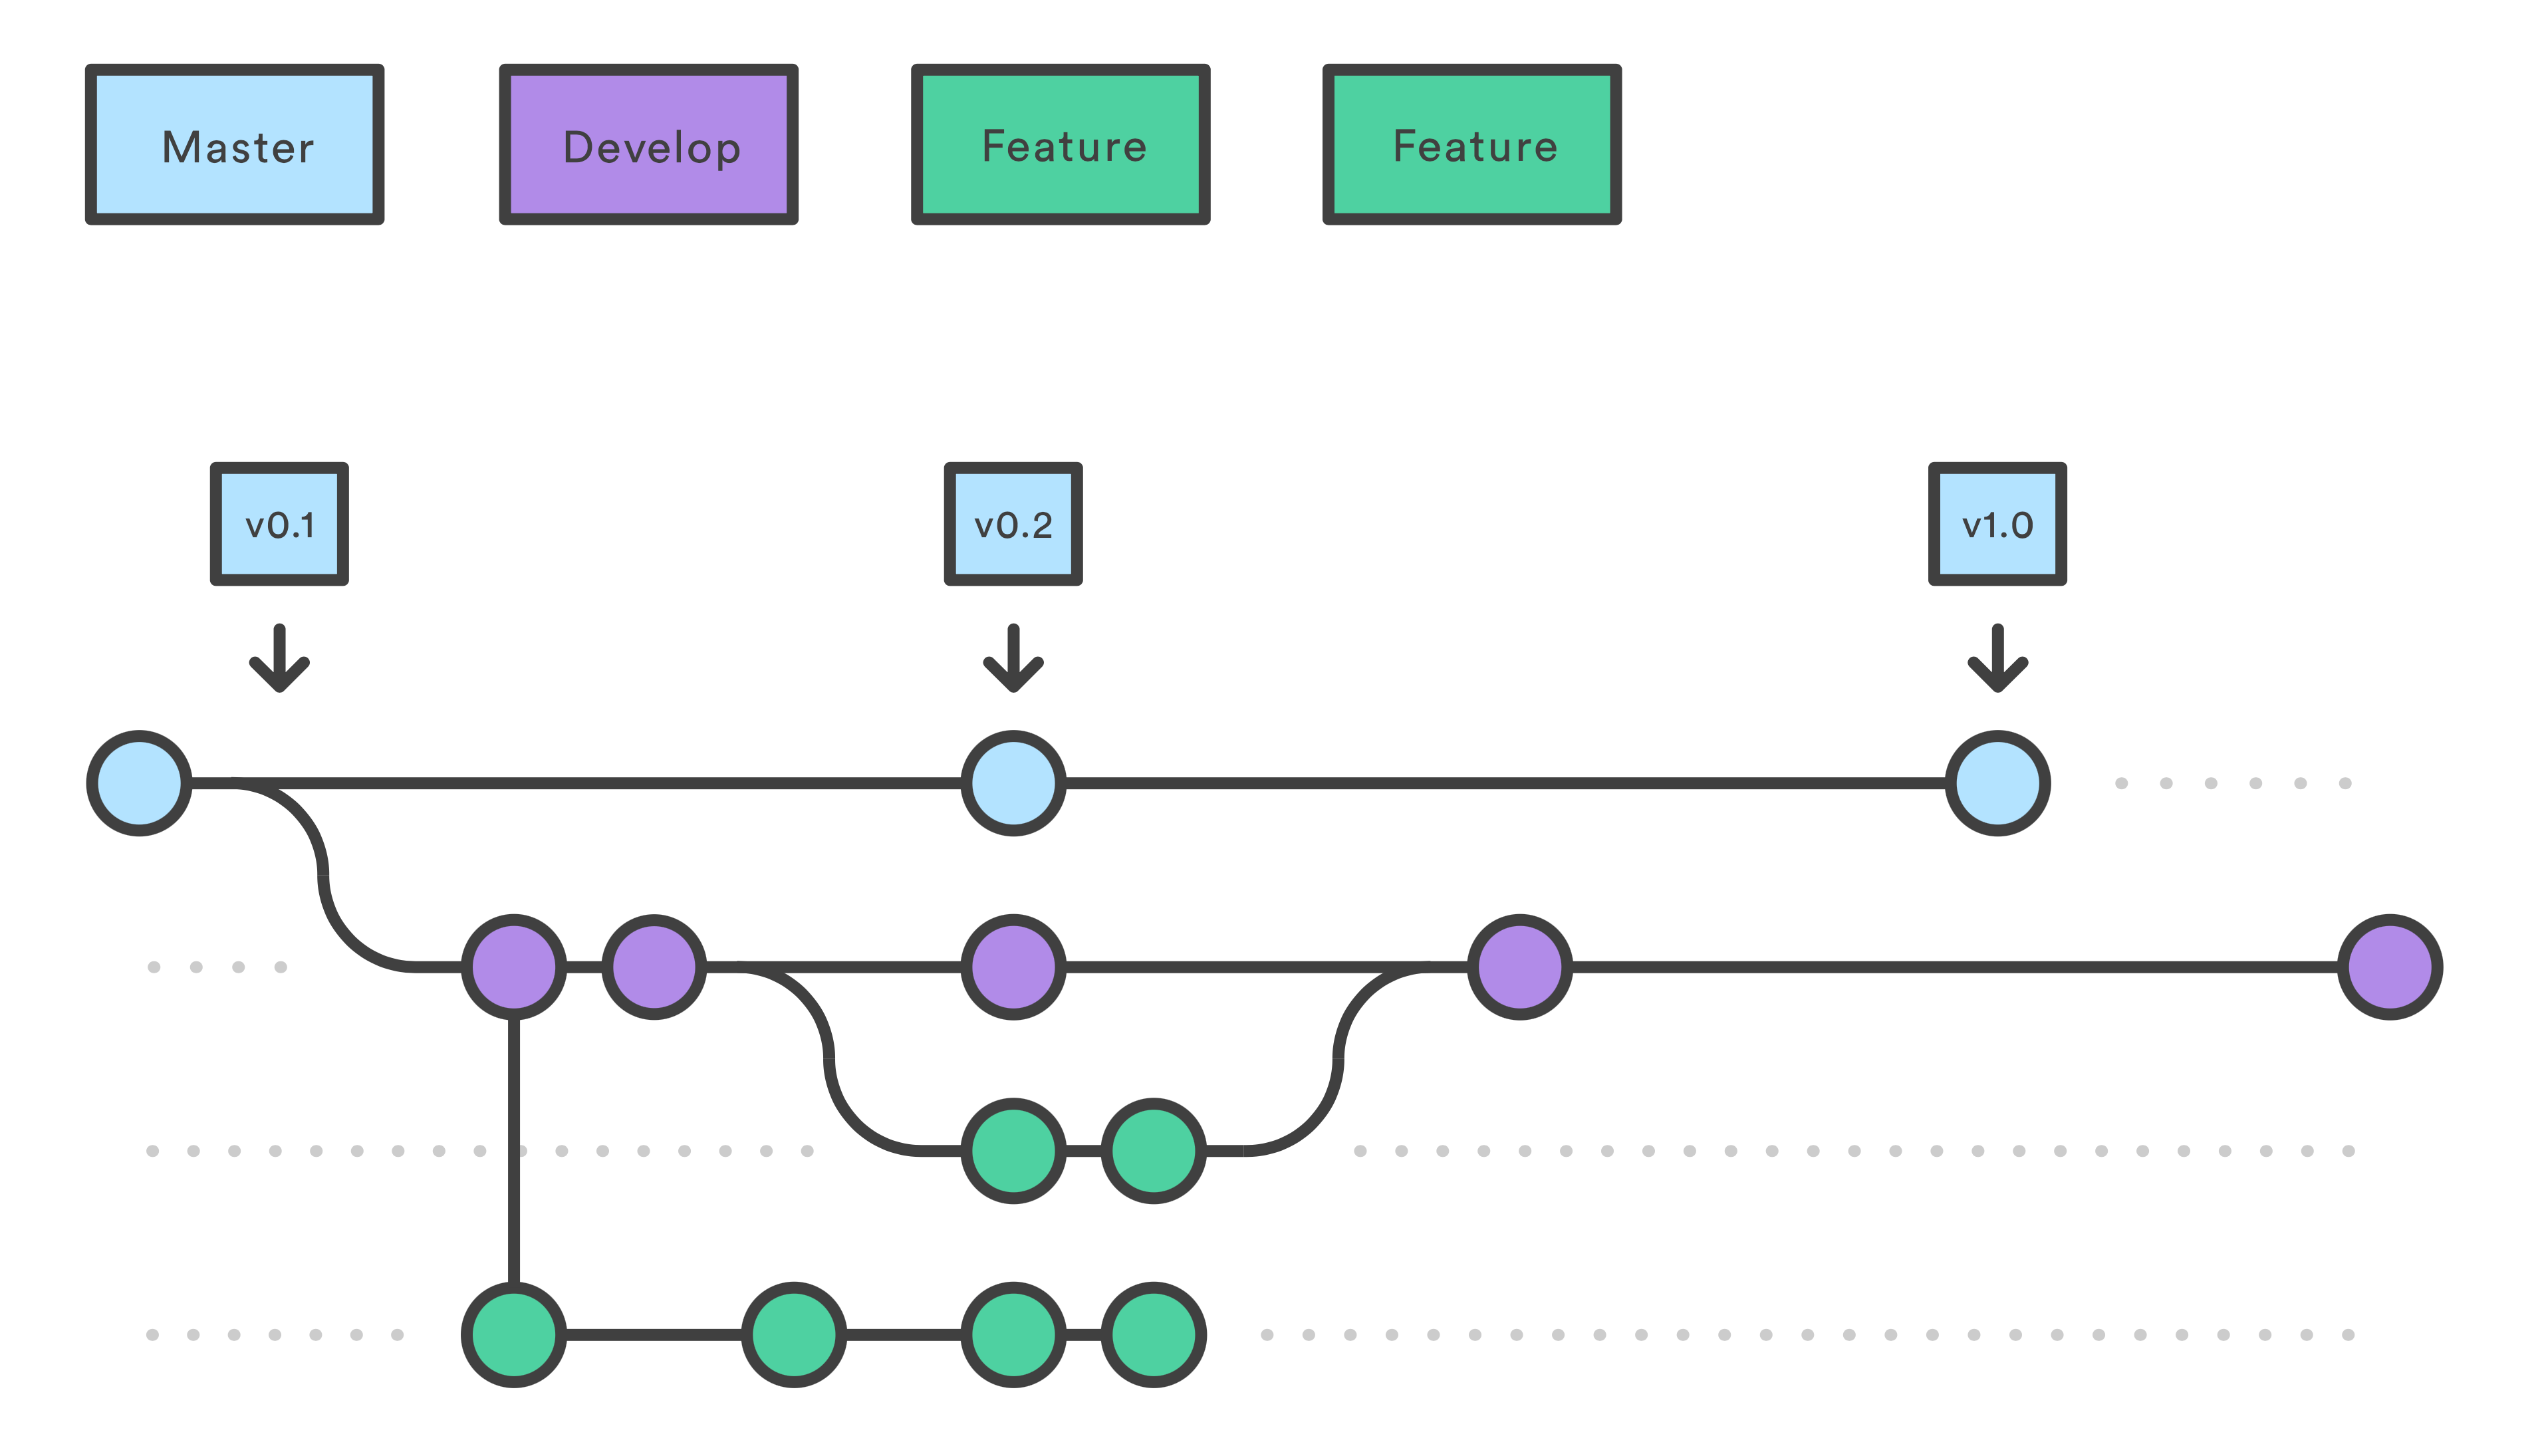
One of the main functionalities and advantages of having our project to a Remote Repository like Github is the usage of Branches.
Branches help us to work in the same repository and collaborate with others, so let’s say we have our CalculatorApp, but Dev1 it’s working on adding a new feature called “Percentage” and Dev2 it’s working on adding “Trigonometrical Functions”.
To avoid conflicts between these two new functionalities we can create two more branches aside from Master, to push each of these functionalities, like the branch “Percentage” and branch “Trigonometrical”.
Also, this way of working can help us to identify conflicts in our repositories before merging them to our stable version in branch “Master”.
if you want to know more about how Github Branches work you can visit the link here.
Other useful commands:
| Command | Description |
| git init | Initiates a new Remote Repository |
| git add. | Adds all content of a Local Repository to be uploaded |
| git rm -r “folderName” | Removes specifically a folder, it can also be used with any file that we don’t want to include in the Remote Repository |
| git commit -m “Comment” | It’s used to add a commit to our changes |
| git remote -v | It’s the name of the Remote and the URL which is pointing |
| git push -u origin master | It uploads the Local Repository to the Remote Repository called “origin” in the Branch “Master”. |
Links of interest:
Automating with Appium – Selenium and TestNG
Speed up Android Testing with Appium and SDK TestProject Agent
These are some recommended books to learn more:


Angélica Viridiana Rebolloza
Computing Engineer specialized in Automation, working with different tools for Mobile and Web, using languages, tools, and platforms like JAVA, VBScript, JavaScript, C#, Appium, Protractor, UFT (QTP), Selenium, WinAppDriver, Jenkins among others.
Viridiana also has been working using practices like TDD & BDD under Cascade and Agile approaches.
Some certifications include: ISTQB Foundations Certification, SeU Selenium Certified, ITIL Foundations Certification.


